Take good-looking optimized screenshots for your documentation site
Taking good-looking screenshots of your UI to include in your technical documentation is probably more complicated than you think. At a minimum you’ll want to
- Take screenshots on a high-quality monitor, preferably retina or 4k
- Think carefully about zoom levels, cropping, and annotations. We have more detailed guidance on how we take good screenshots, but consistency is key even if you choose different options than us.
- Optimize the file size using a tool like TinyPNG (using the free web UI is fine at the start, and you can automate this using their API when you need).
- Optionally, add a background and minimal fake browser heading using a tool like BrowserFrame.
Our flow for taking good screenshots manually is loosely
- Follow the steps in your product to get to the correct screen
- Size the window if necessary
- Take the screenshot using CleanShotX
- Add any callouts or annotations
- Paste it into BrowserFrame and add a background colour that matches your brand
- Download that and upload it to TinyPng
- Download that, rename the optimized file, and move it to the correct place in your documentation project
This results in a screenshot that looks like the one below.
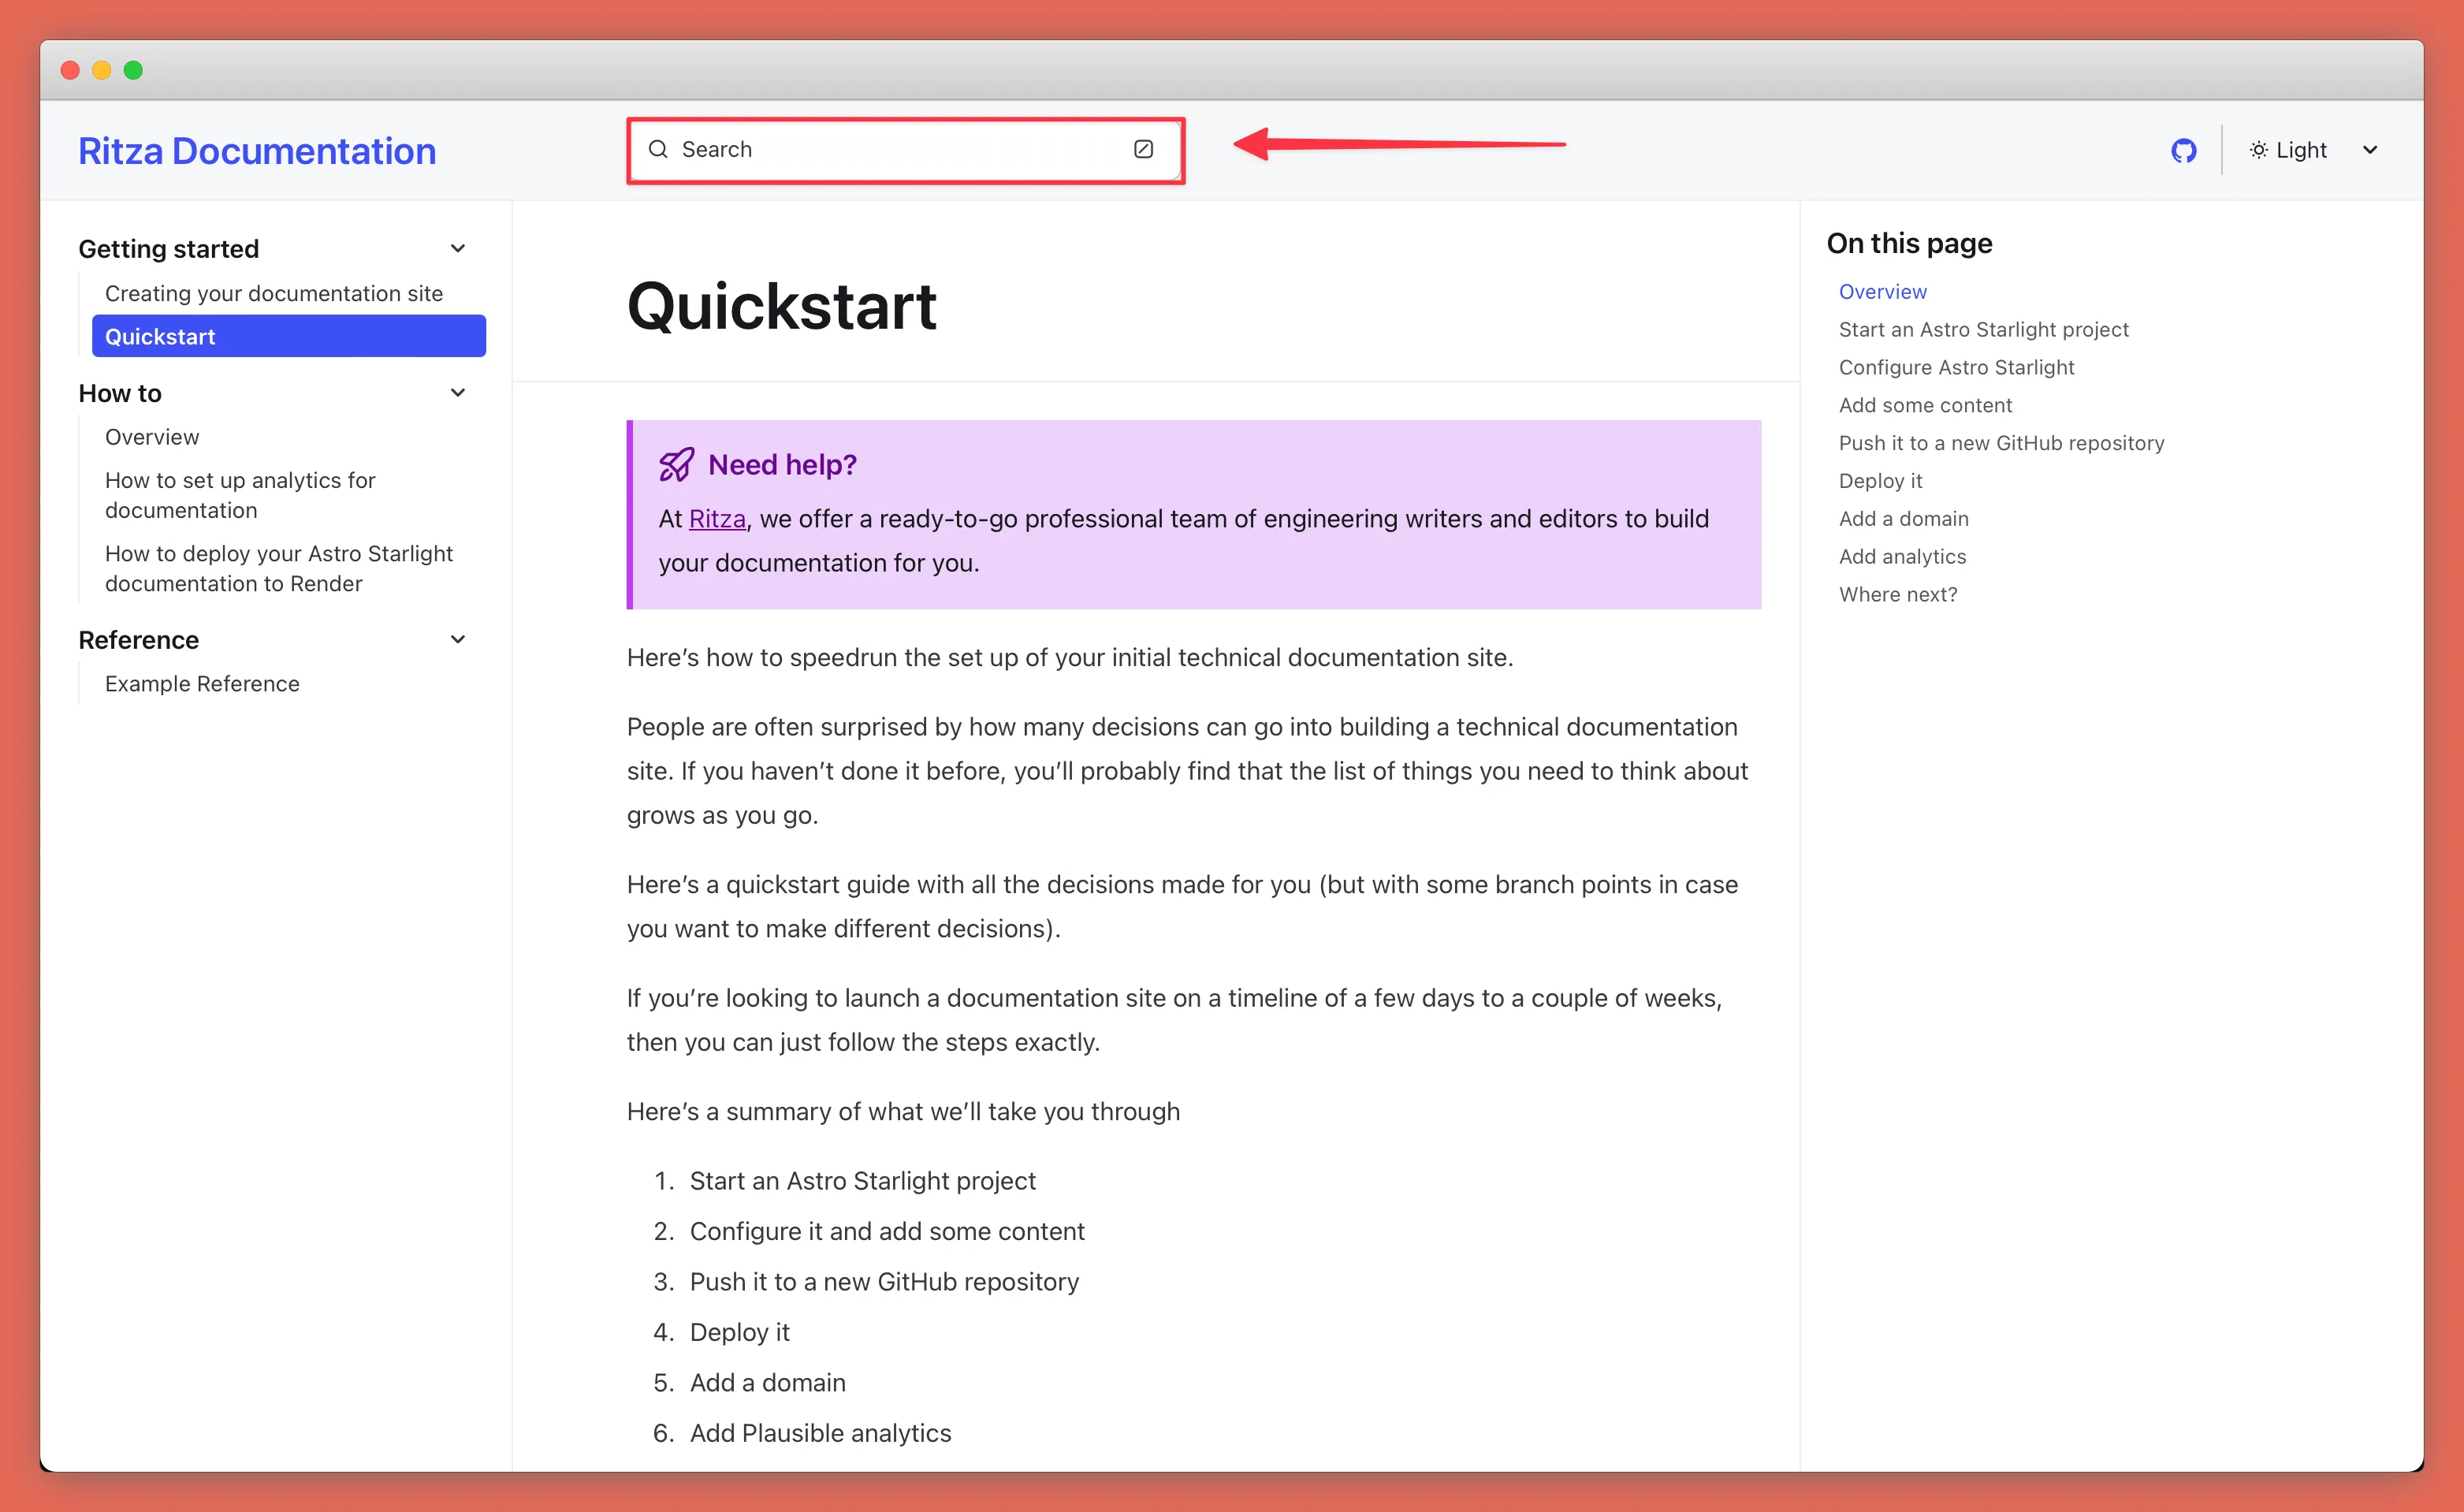
Most of these steps can be automated as you scale.